Long time family friend Michael Heumann graciously donated a decorative piece of wood he had lying about, as well as much of his expertise to help see this project to fruition. I stained the wood Cherry Red for a distinguished look and then added several layers of varnish to it for a nice sheen. This also darkened the piece and brought out the natural wood grain. One of the challenges was that we wanted the wood to lay flush against the wall. I found some hooks at the hardware store to achieve this, but got stuck without a router to create the grooves necessary for the inlay. Luckily I had some wood carving tools lying around for printmaking and was able to make the grooves myself. This was a lot more labor intensive, but took less time than it would have to locate a router.
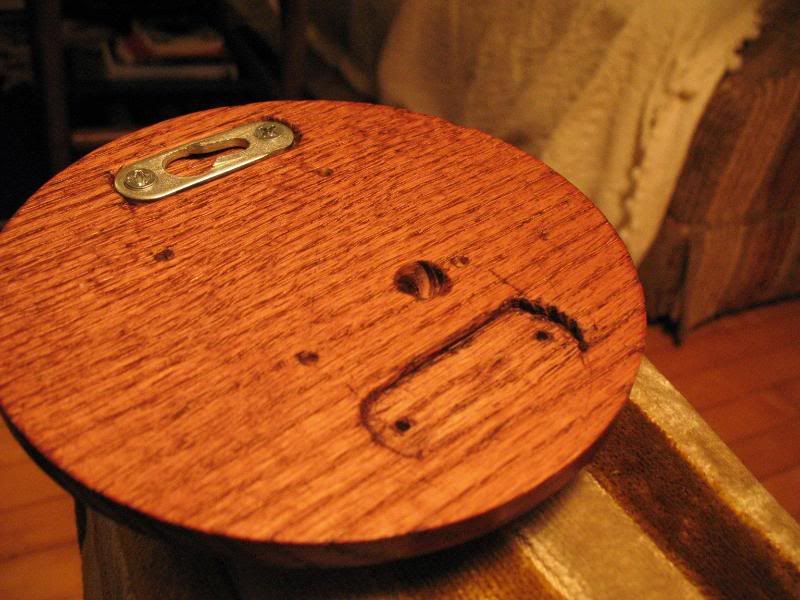
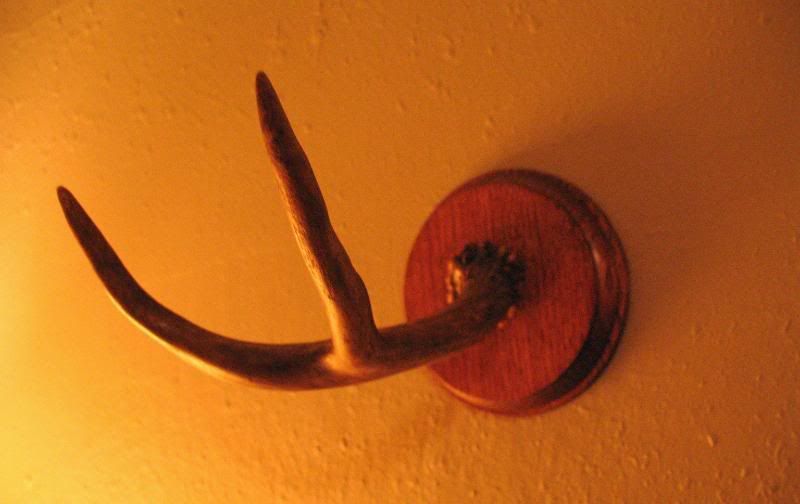
We made sure to drill through the wood and the antler at the same angle so it would attach well and be strong enough to hold the weight of a jacket. In the end it came out pretty good I think. Especially considering it was my first project of this kind. Here are a few pictures of the finished product.


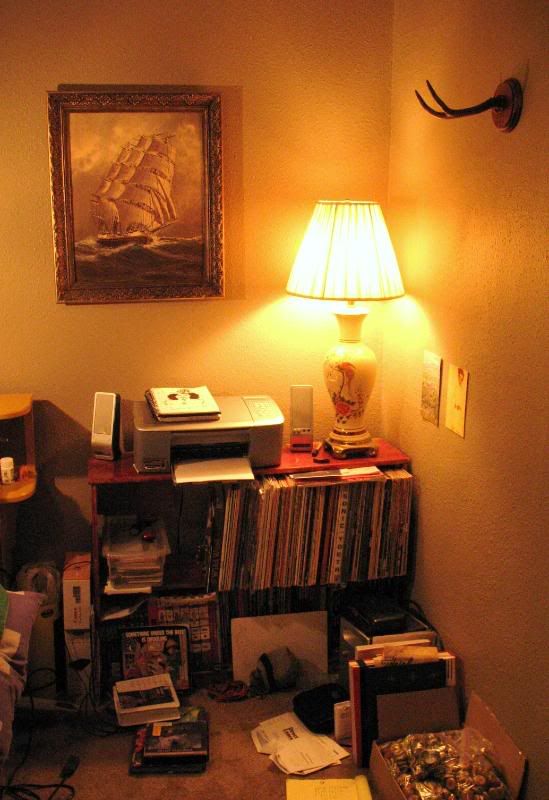
And this is a view of my corner of the room. That ship painting is a recent acquisition from The Union Gospel Mission thrift store out in Tigard. There are always finds to be found out there.
2 comments:
no drawing of the wall mount?
It turned out really nicely. Excellent choice of brackets to hold it flush to the wall. Good work!
Post a Comment